Removing Floor Glue: A Step-by-Step Guide for Safe and Effective Removal
The Importance of Proper Floor Glue Removal
Proper floor glue removal is important for a few reasons. First and foremost, it ensures that the surface is clean and ready for new flooring installation or refinishing. Any remaining glue residue can interfere with the new flooring or finish adhesion, leading to potential issues down the road.
Also, removing floor glue can improve the appearance of the surface, as the leftover adhesive can create an uneven or discolored appearance. Proper removal also helps to maintain the integrity of the subfloor, as failing to remove all of the adhesives can weaken the surface and compromise its stability over time. Therefore, taking the time and effort to remove floor glue properly can save you time, money, and some big headaches in the long run.
Safely and Effectively Removing Floor Glue
Safely and effectively removing floor glue involves several steps, including preparing the area, choosing the right tools and products, and following a systematic process for removing the glue. First, it's important to prepare the area by removing any furniture or fixtures and covering nearby surfaces to prevent damage.
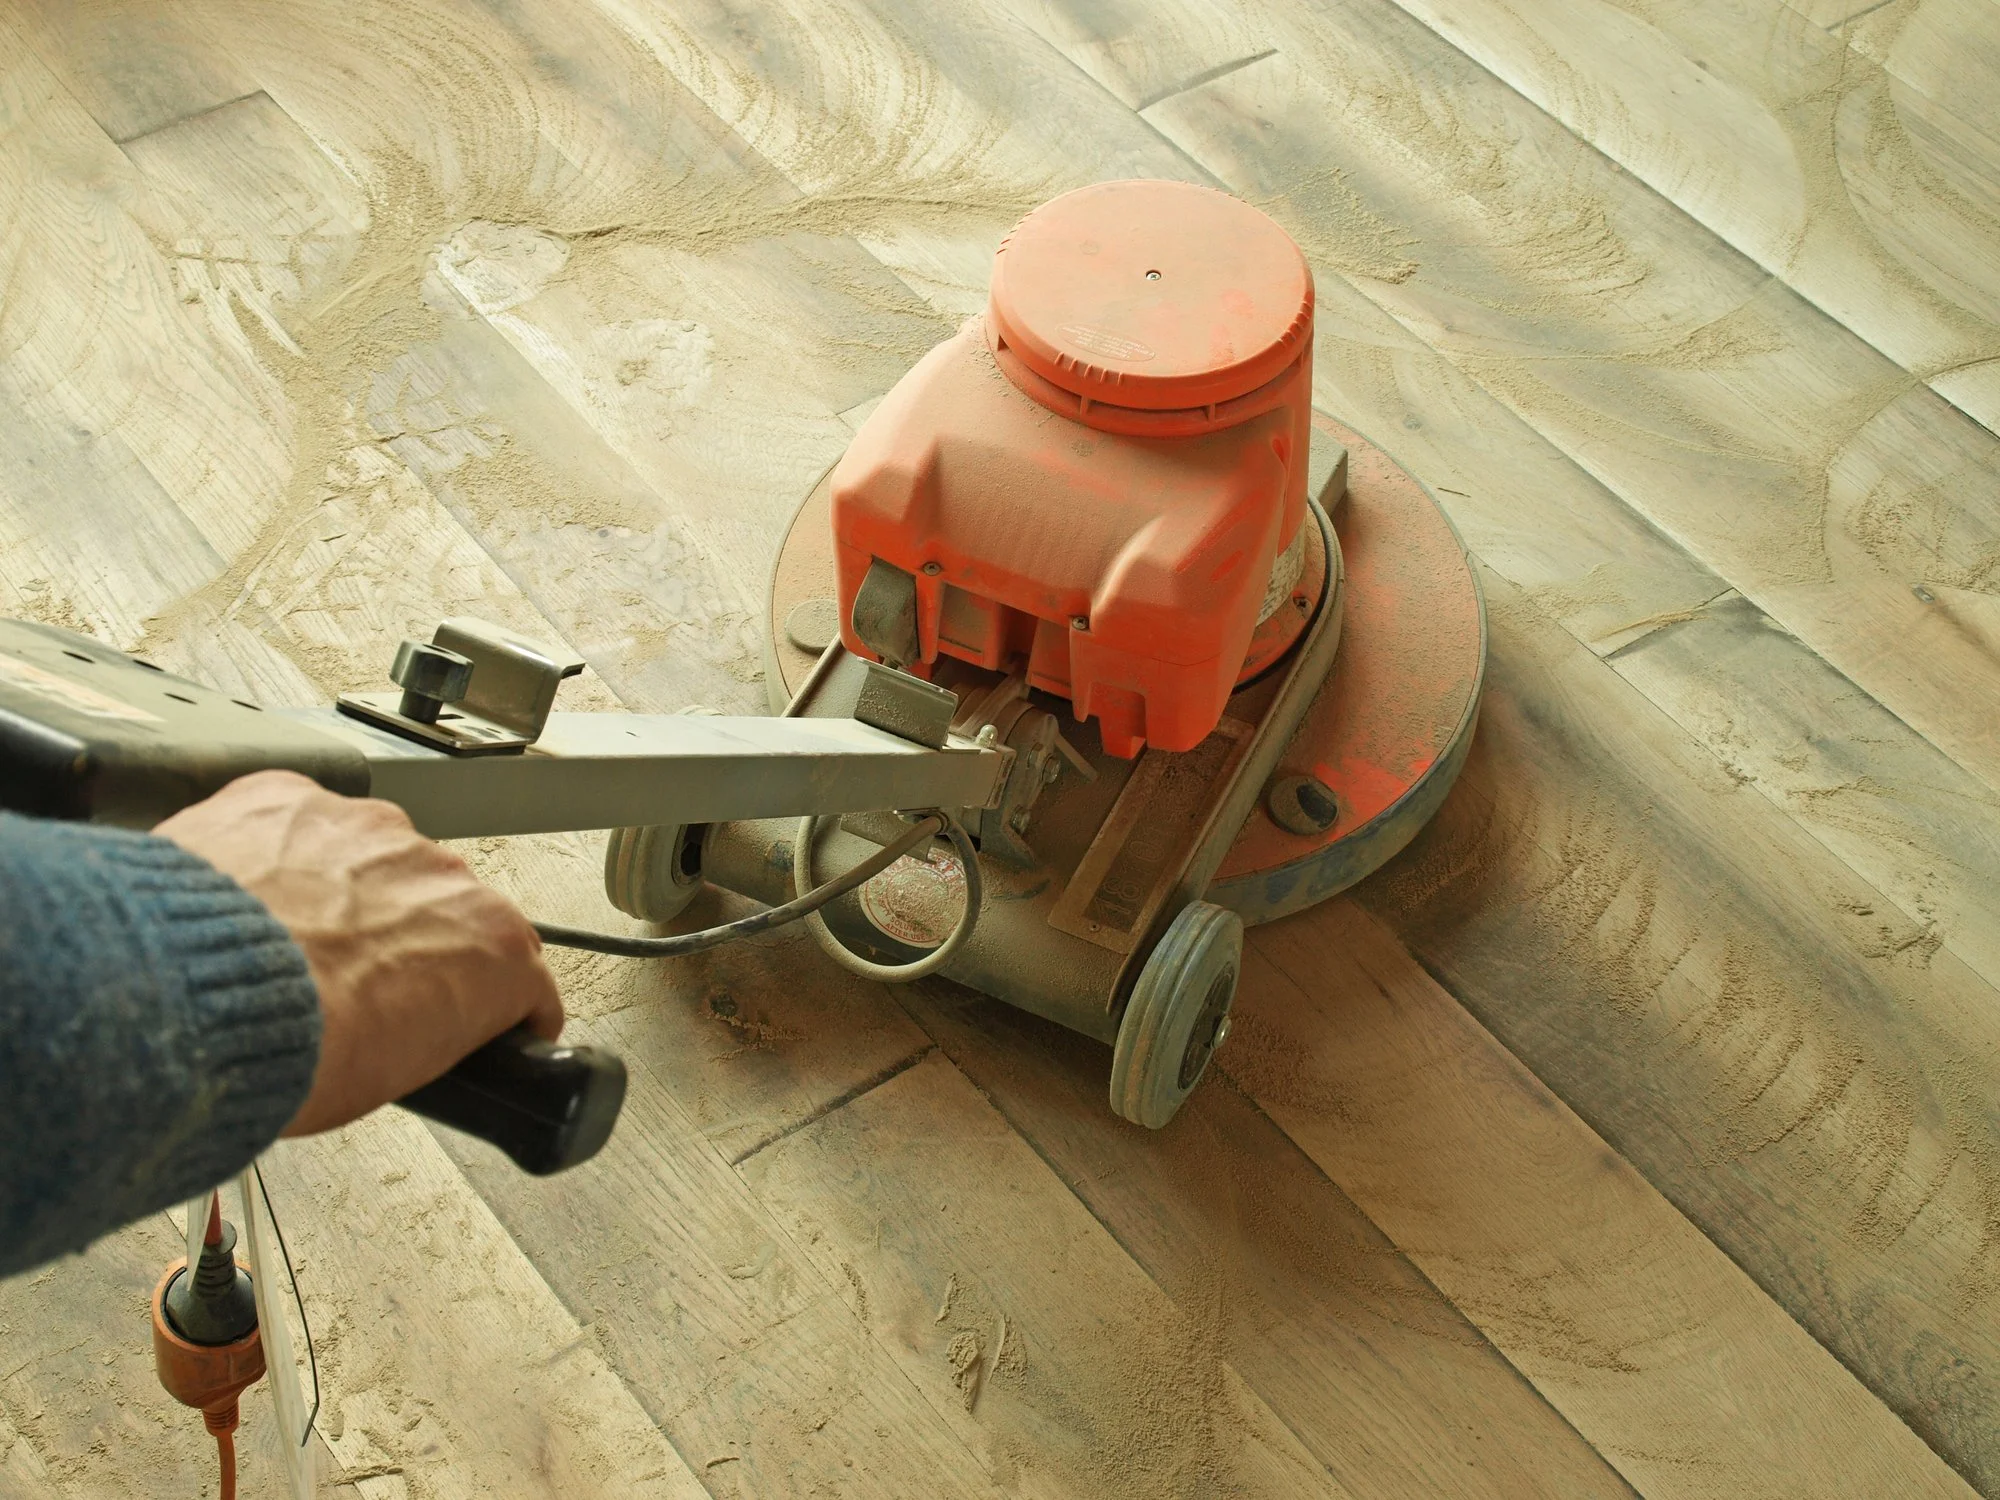
Next, the right tools and products should be chosen, such as a floor scraper, heat gun, and a quality glue remover for floors. The process typically involves applying the glue remover, allowing it to penetrate the glue, and then using a floor scraper to remove the softened glue.
The process may need to be repeated multiple times until all the glue is removed. Proper ventilation and safety gear, such as gloves and goggles, are also important during the removal process.
Gather the Necessary Tools and Materials
Tools Needed for Removing Floor Glue
It’s a good idea to have a vacuum cleaner or broom and dustpan on hand to clean up any debris. The specific tools required may vary depending on the type of floor glue being removed and the condition of the surface beneath it.
Here's an explanation of each tool and its purpose for safely and effectively removing floor glue:
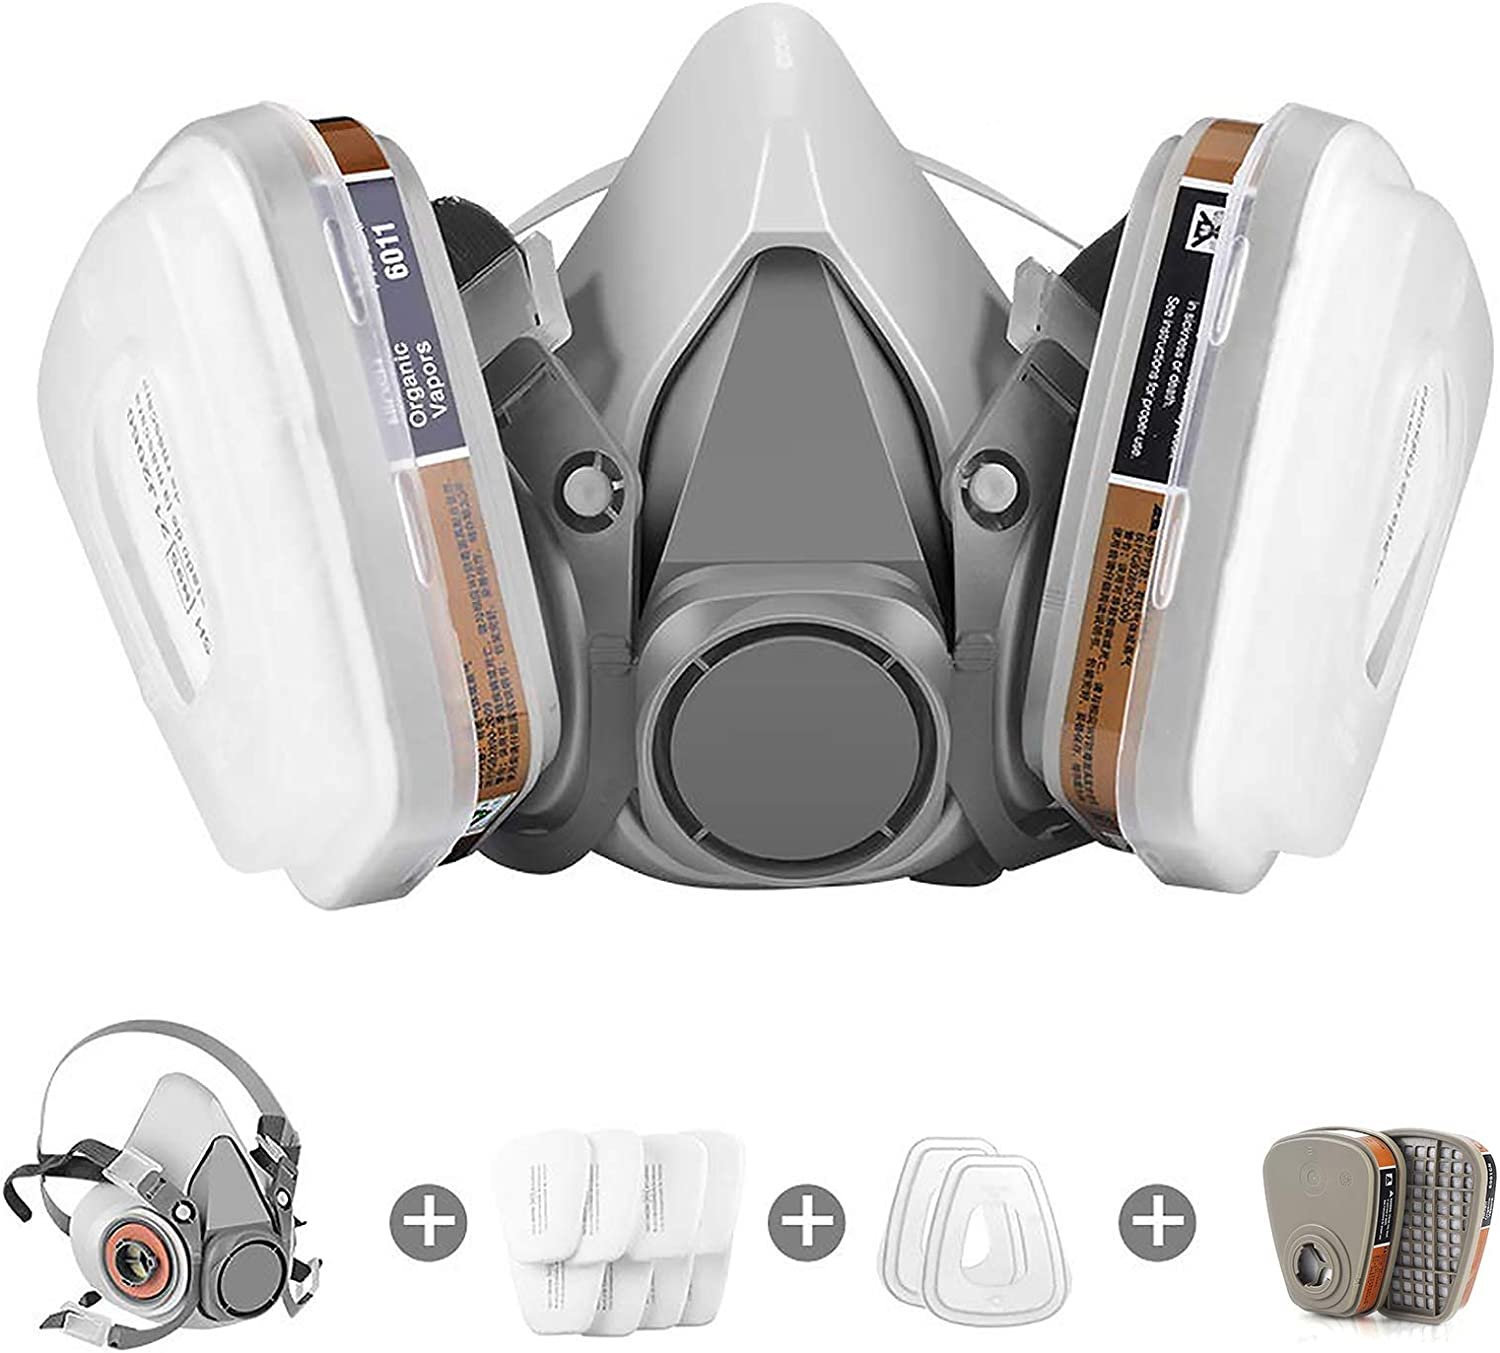
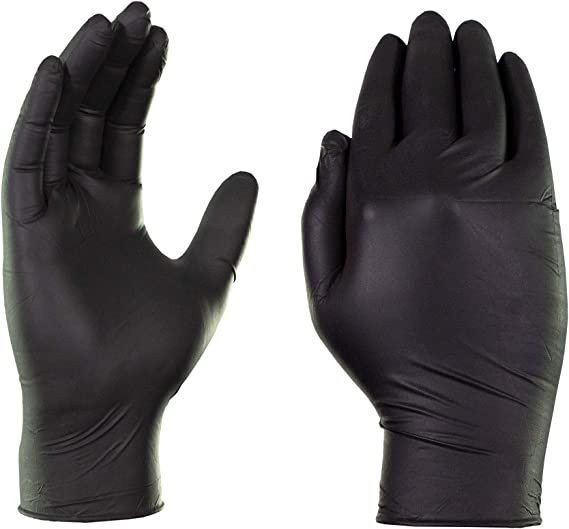
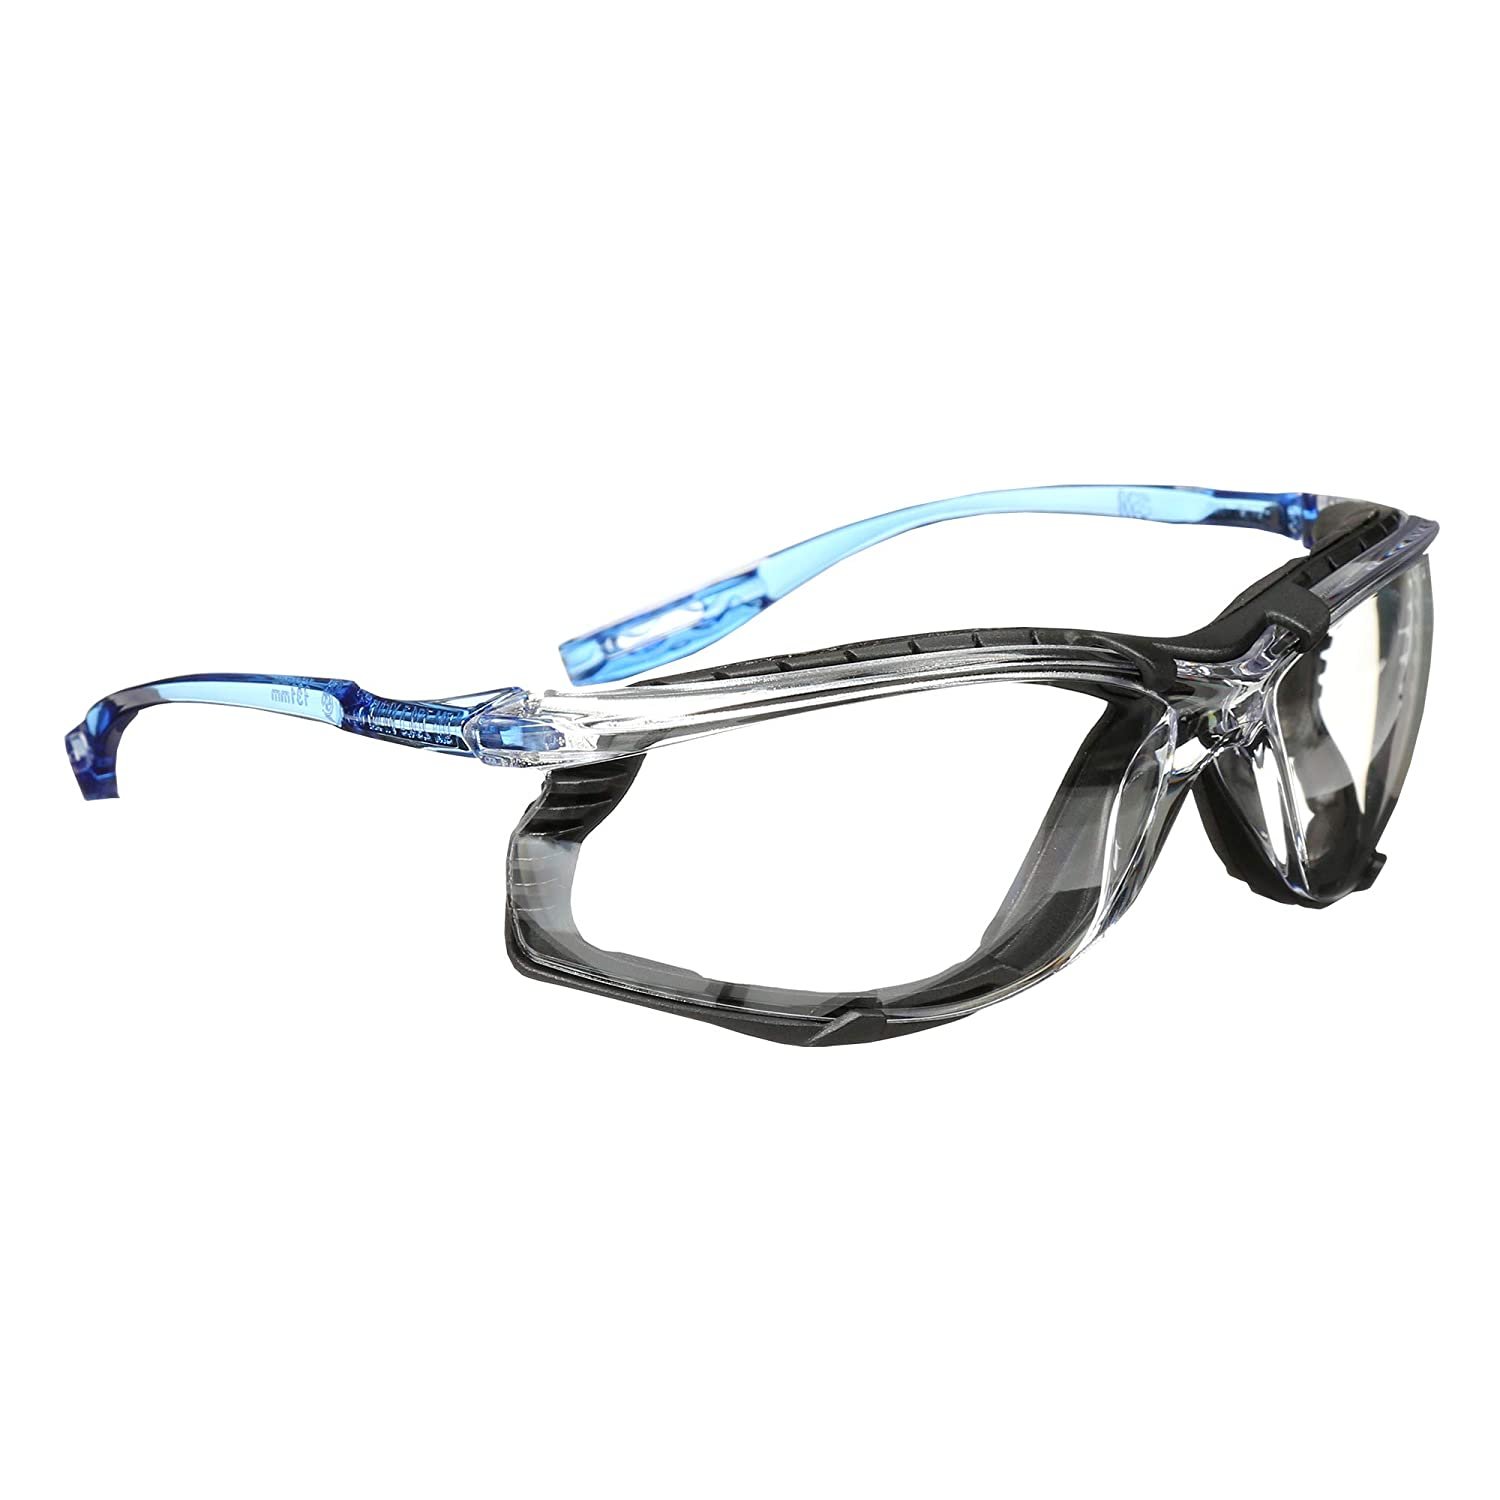
Protective Gear - Before starting the process, put on some protective gear such as gloves, safety glasses, and a respirator mask to prevent skin irritation, eye damage, and respiratory problems.
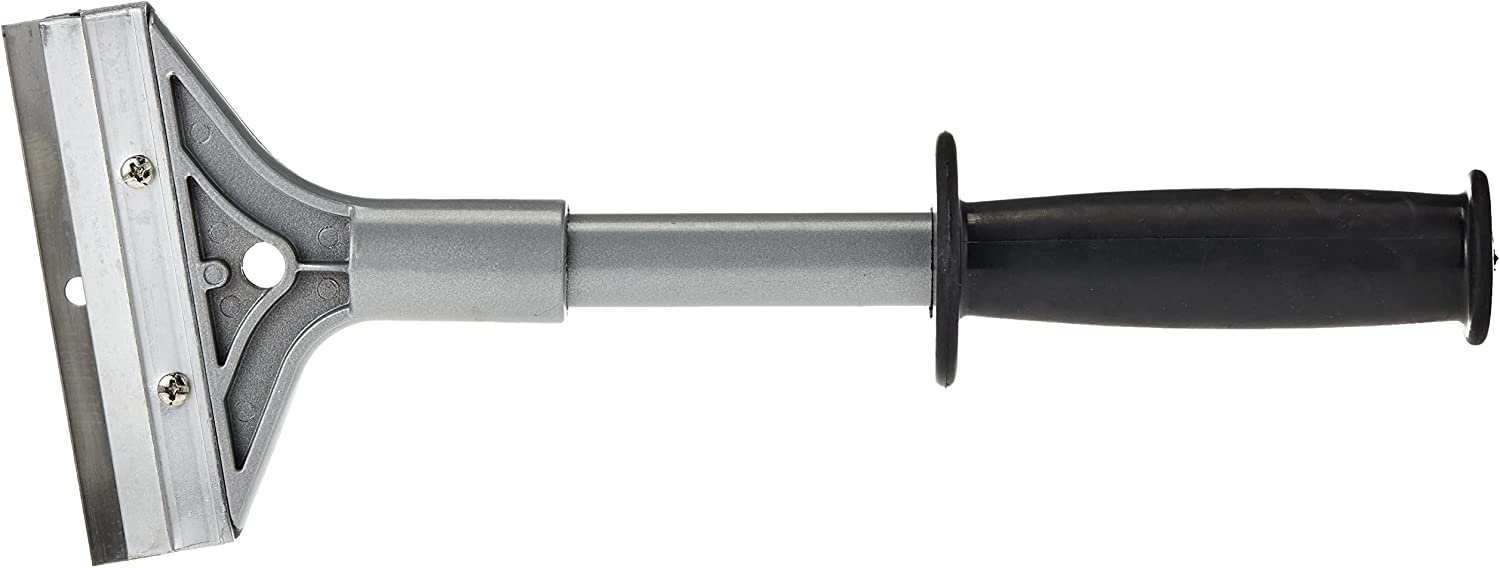
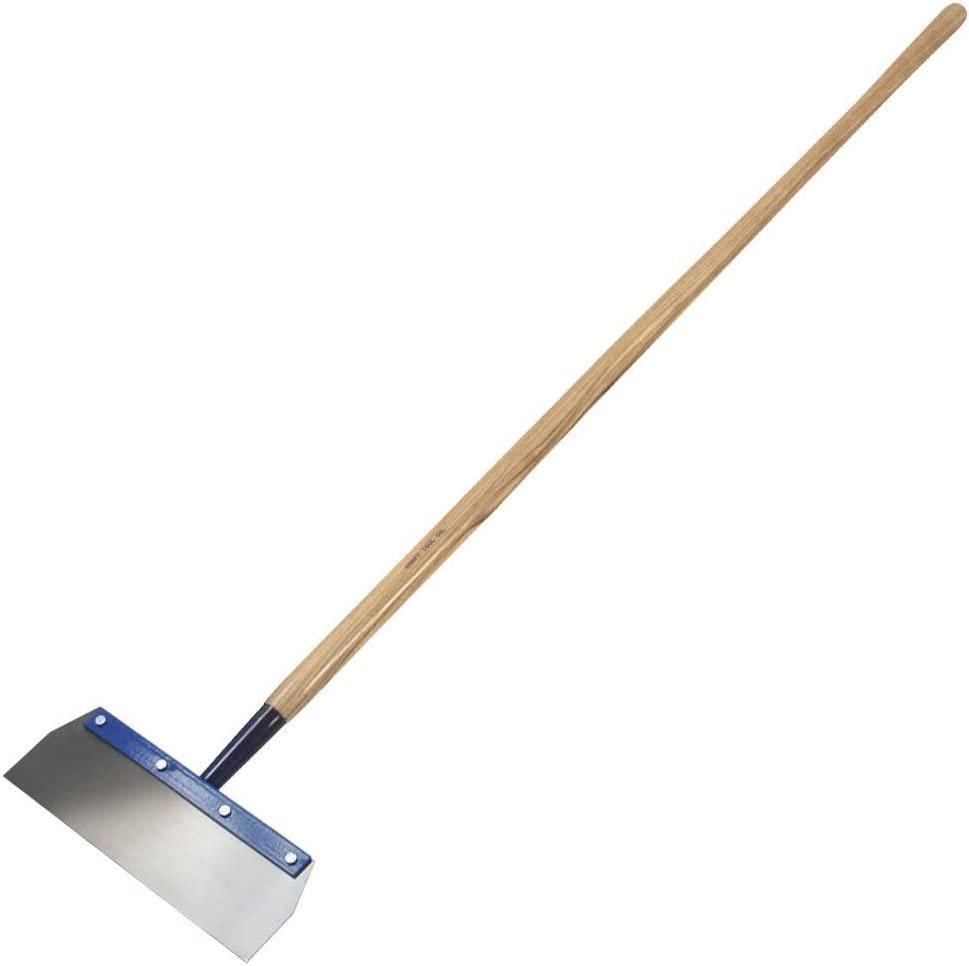
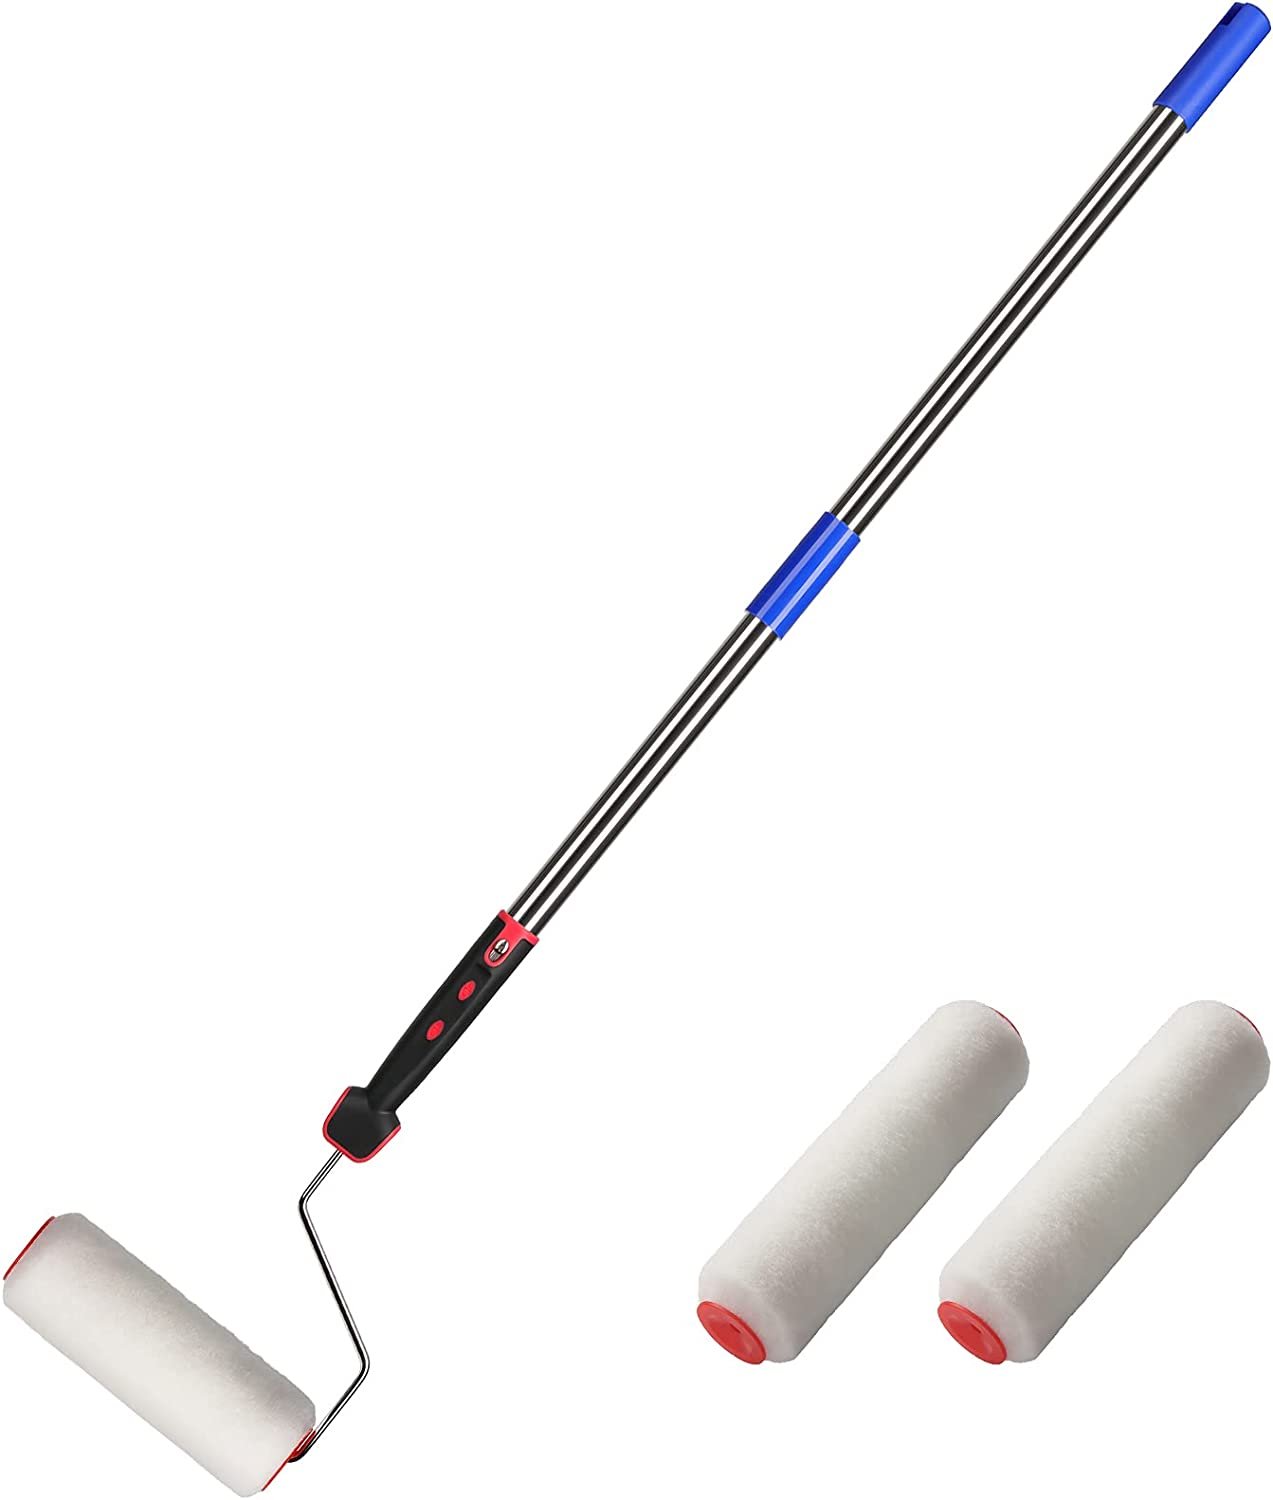
Floor Scraper - A floor scraper is used to remove the top layer of glue and any debris from the surface of the floor. It's important to choose the right kind of scraper blade based on the floor material and glue type.
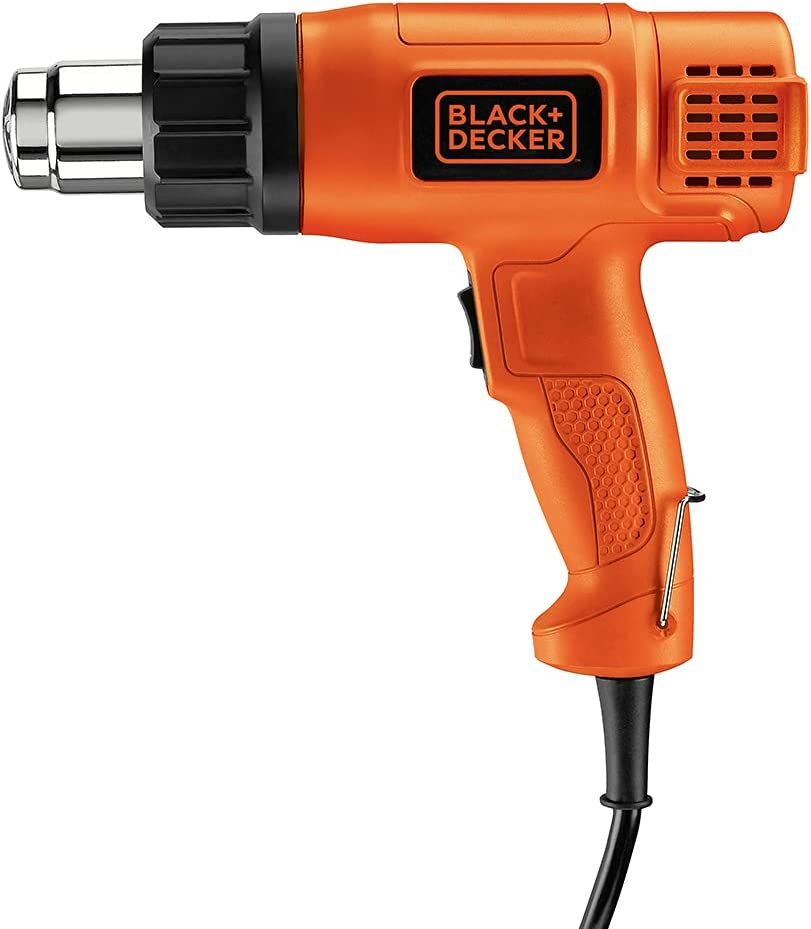
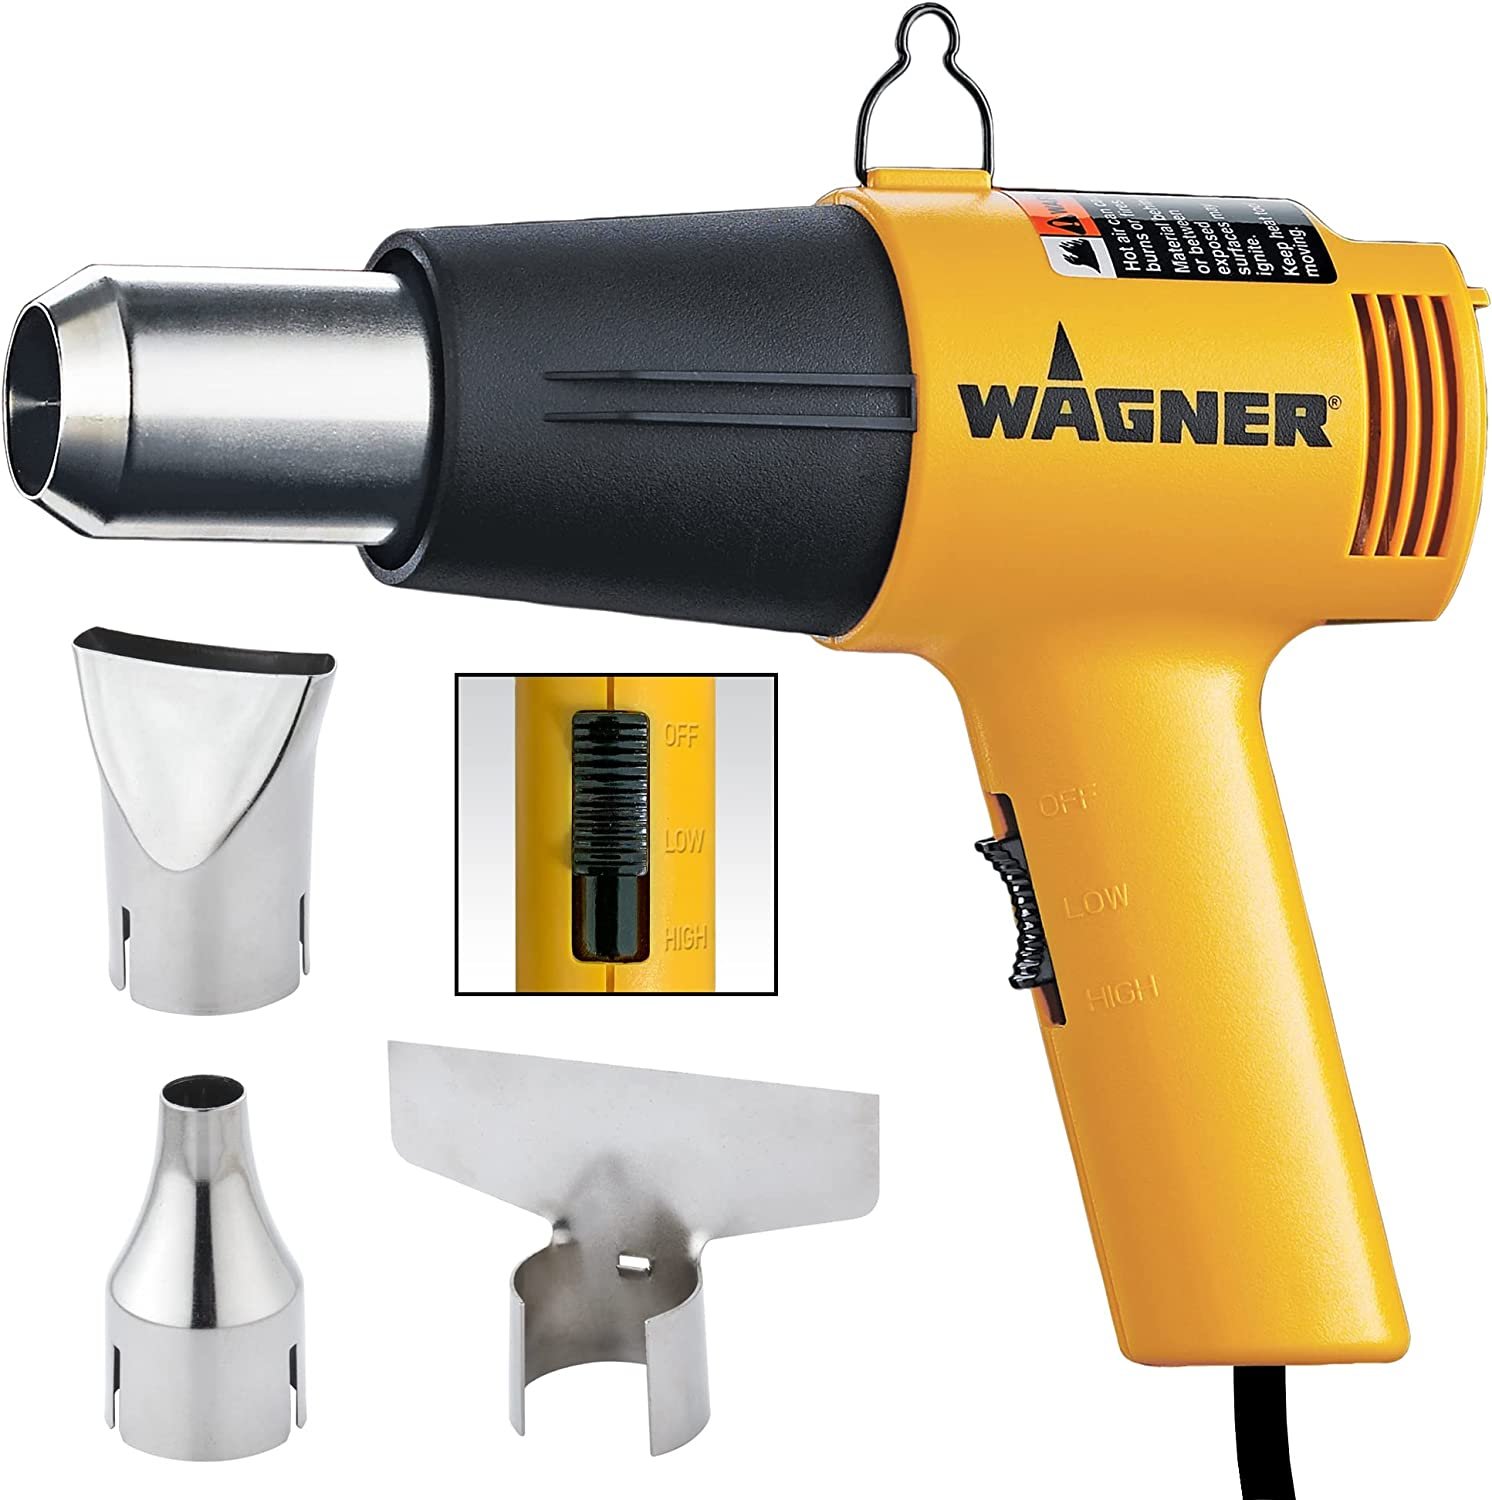
Heat Gun - A heat gun softens the glue, making it easier to scrape off. It's especially useful for removing stubborn and thick layers of glue.
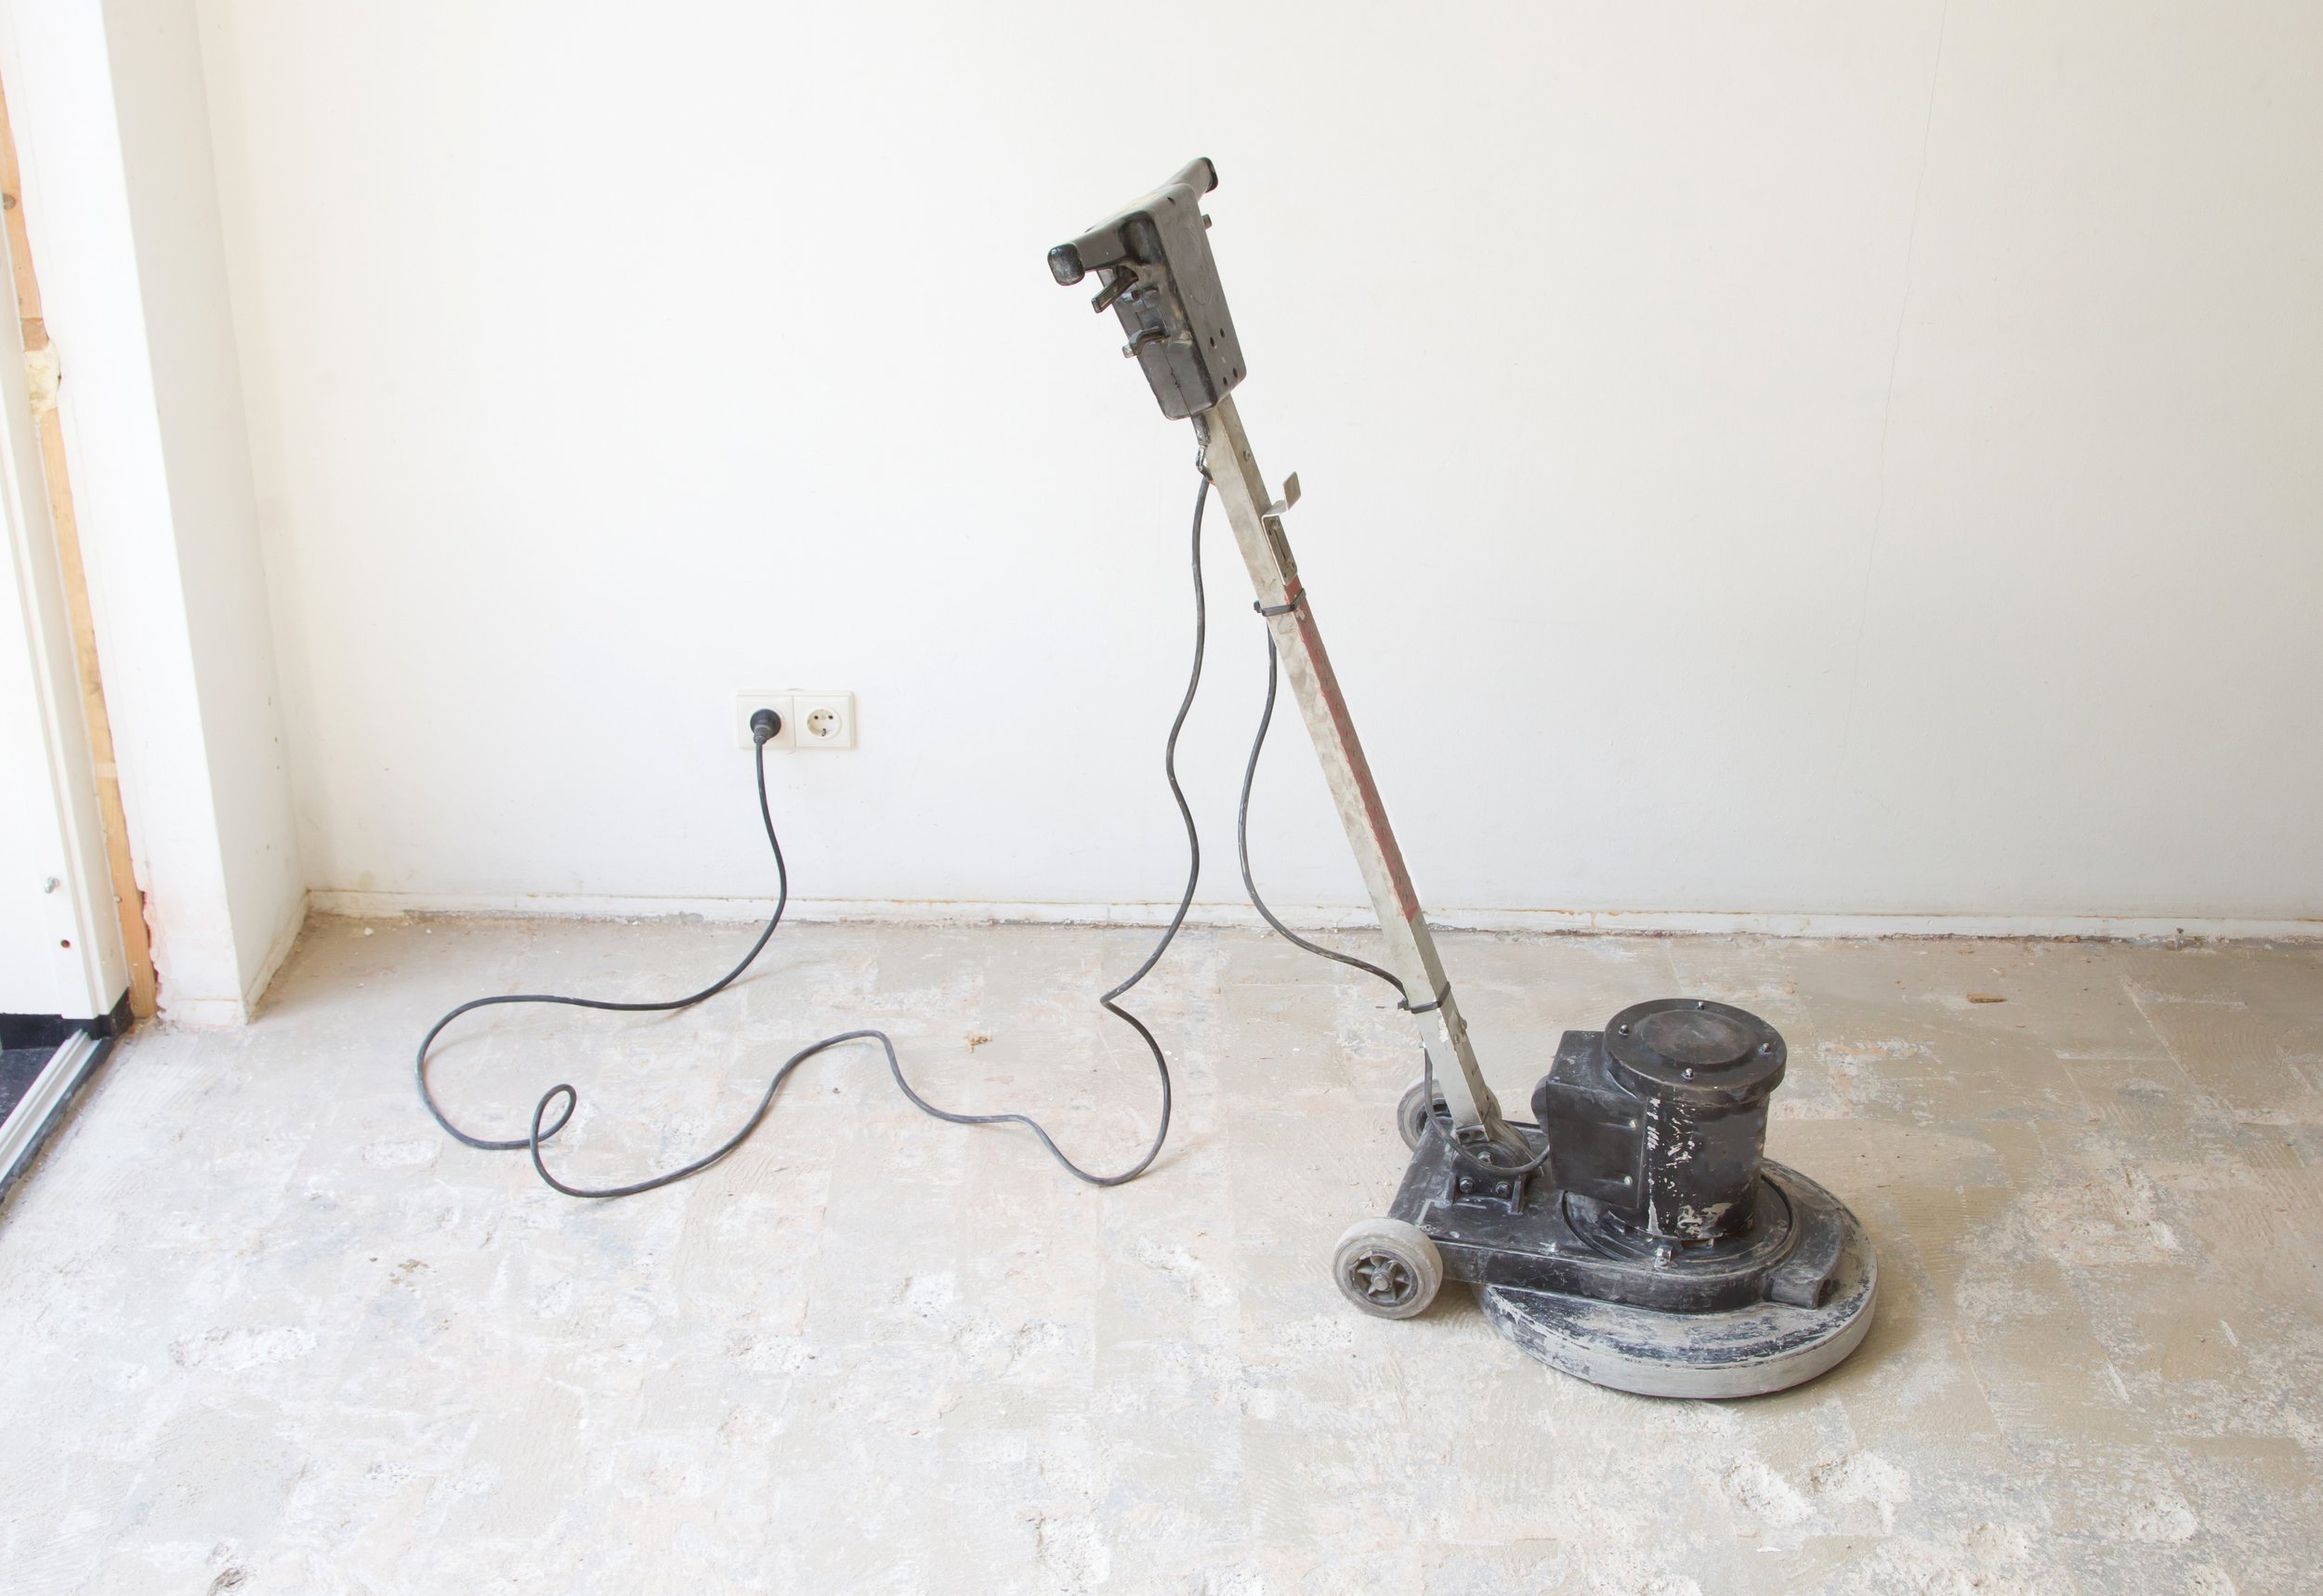
Floor Buffer - A floor buffer with a sanding or scrubbing pad can be used to remove any remaining residue or glue that's stuck on the surface after scraping and heating.
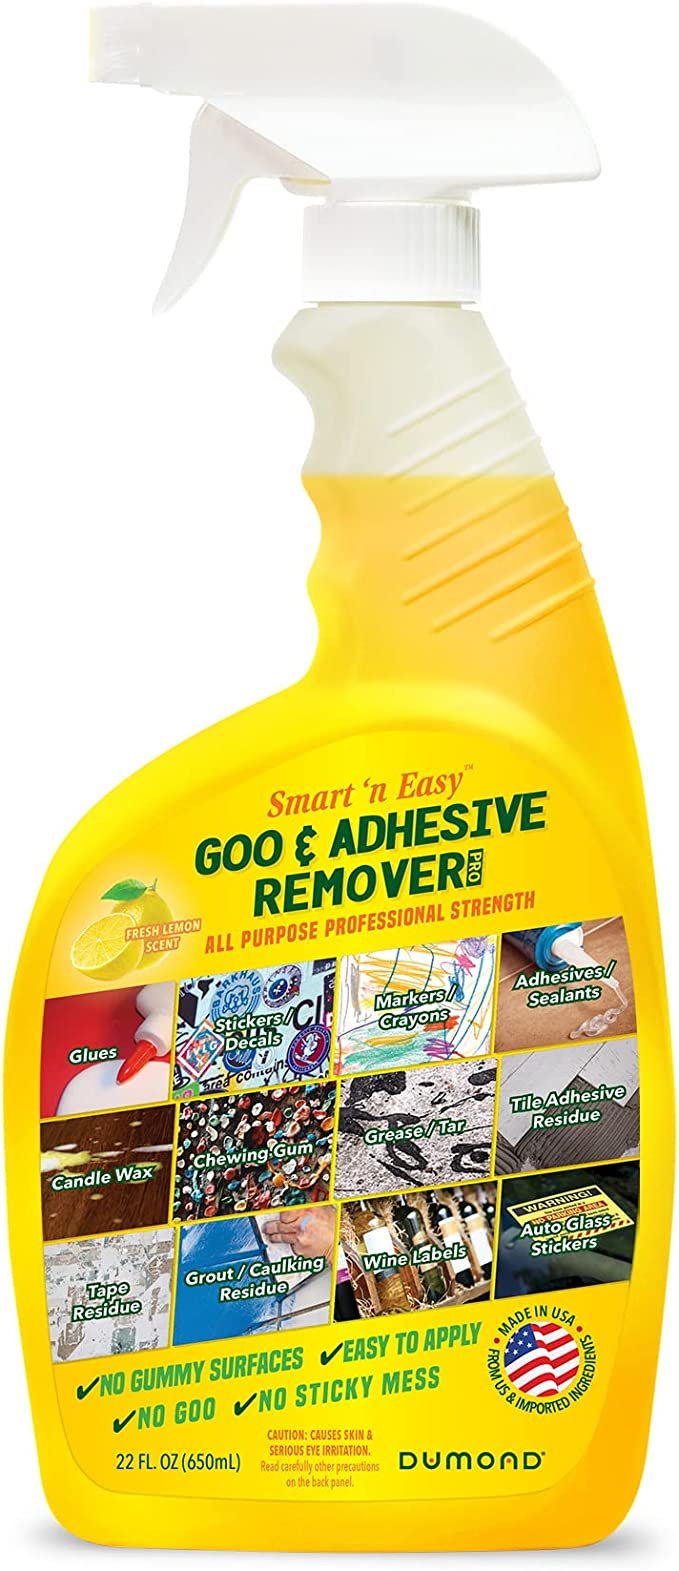
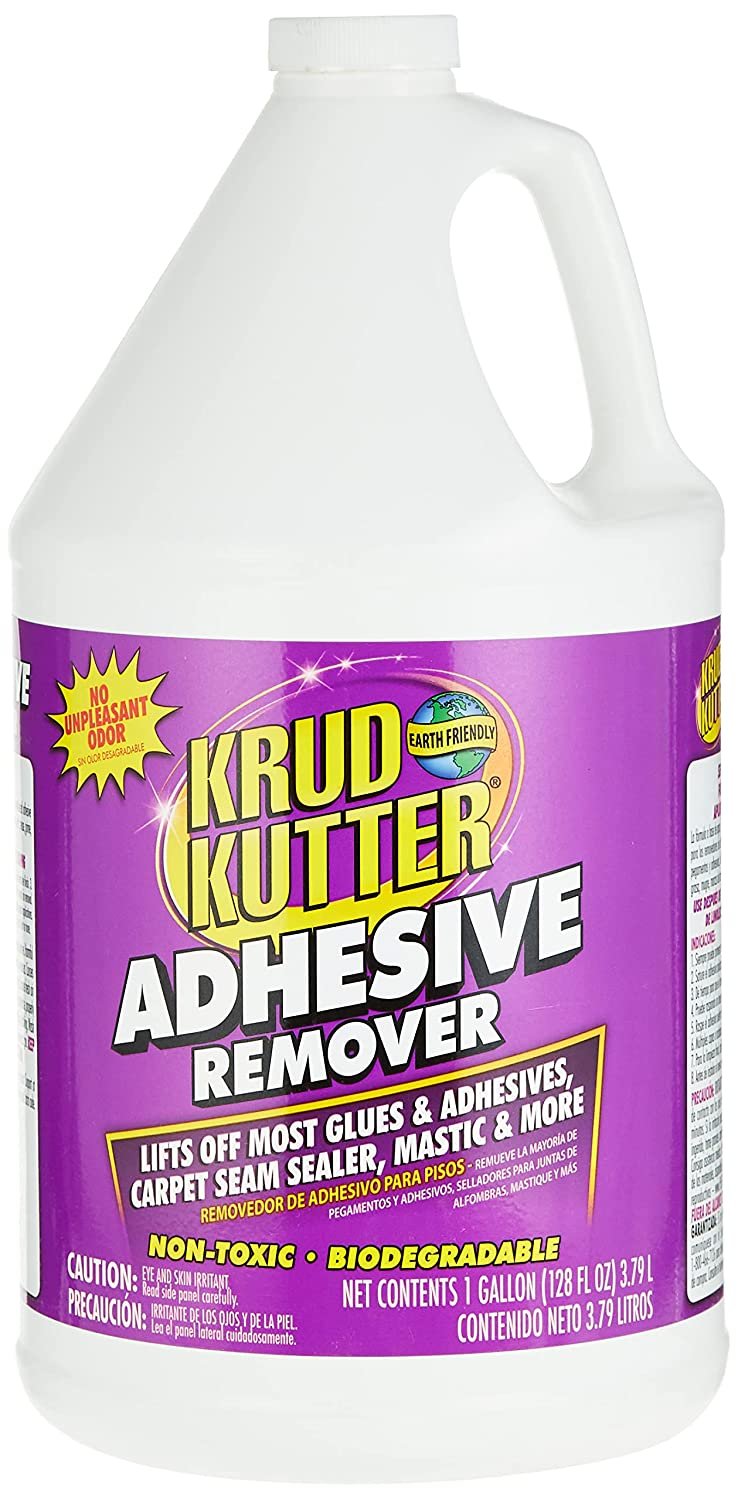
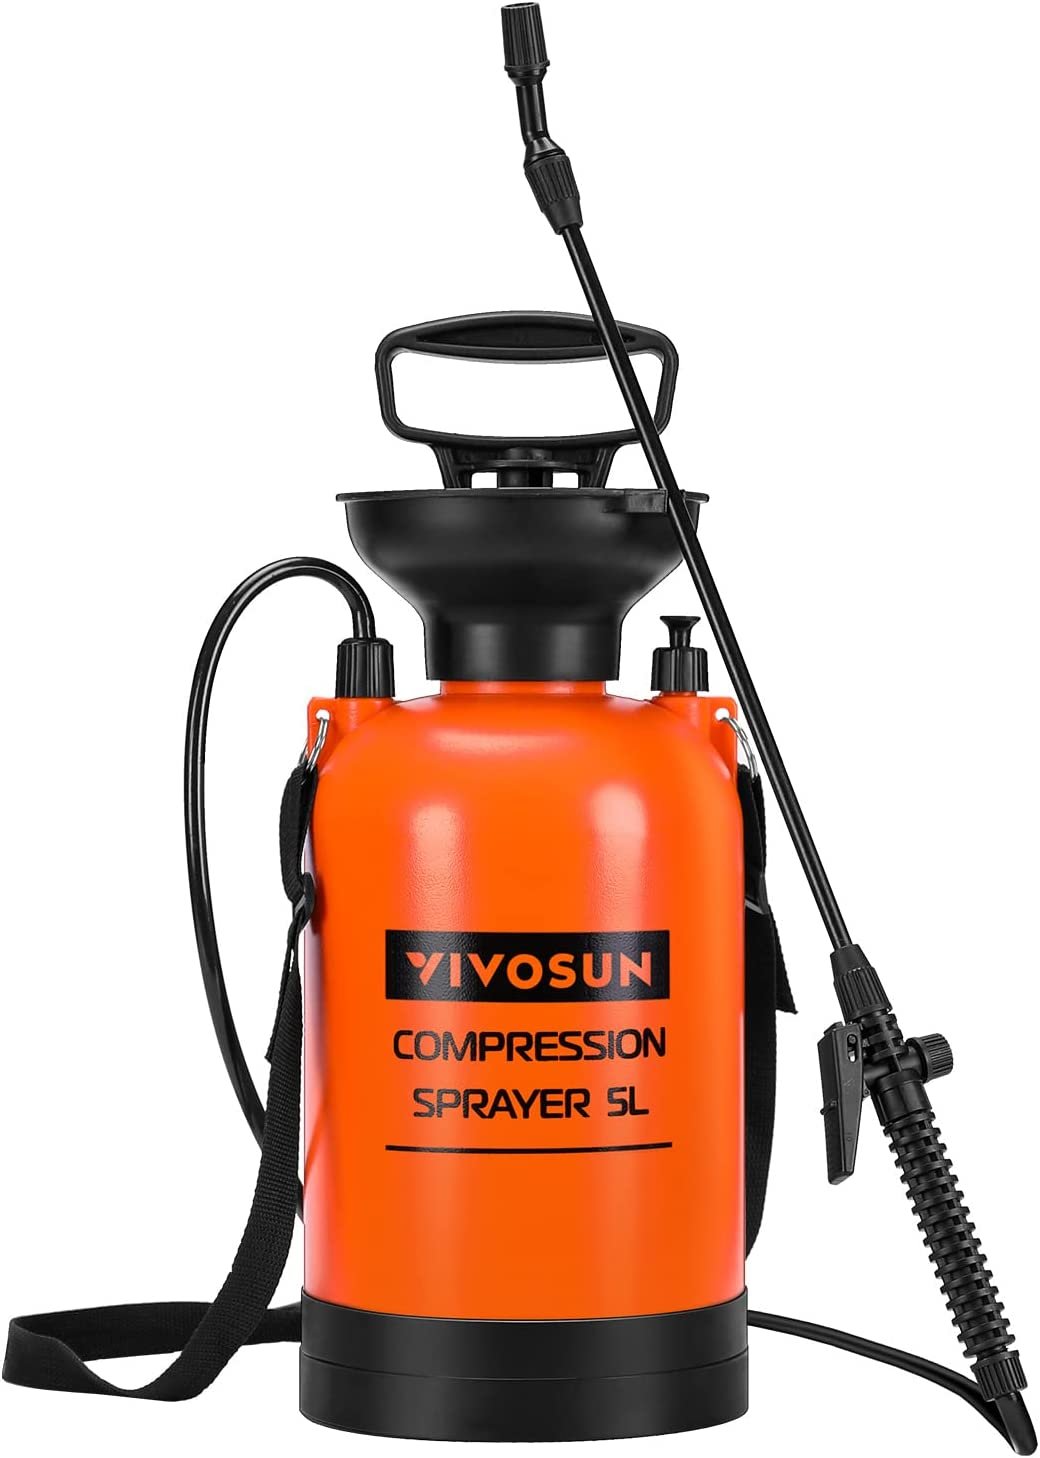
Glue Remover for Floors - If other methods fail, a glue remover for floors can be used to break up the glue. However, it's important to use it in a well-ventilated area and follow the manufacturer's instructions to avoid any damage to the floor or health hazards.

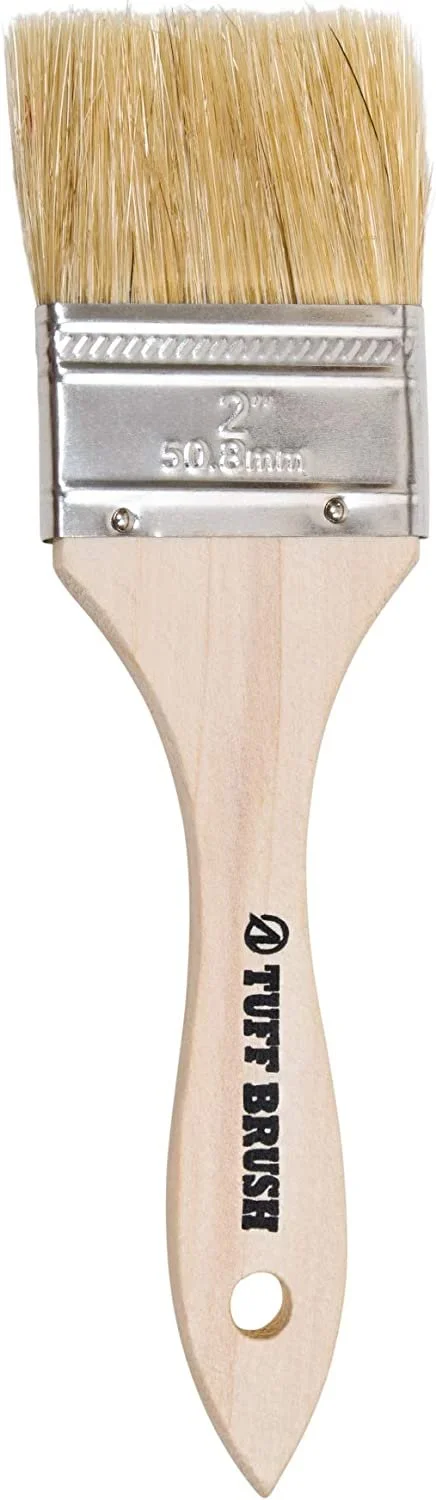
Applicator - If you end up needing to use a glue remover for floors, you’ll need a roller, paintbrush, or sprayer to apply it with.
Recommended Glue Remover for Floors and Where to Purchase It
When it comes to removing floor glue, there are many different products available on the market. One of the most effective and highly recommended options is a glue remover specifically designed for floors.
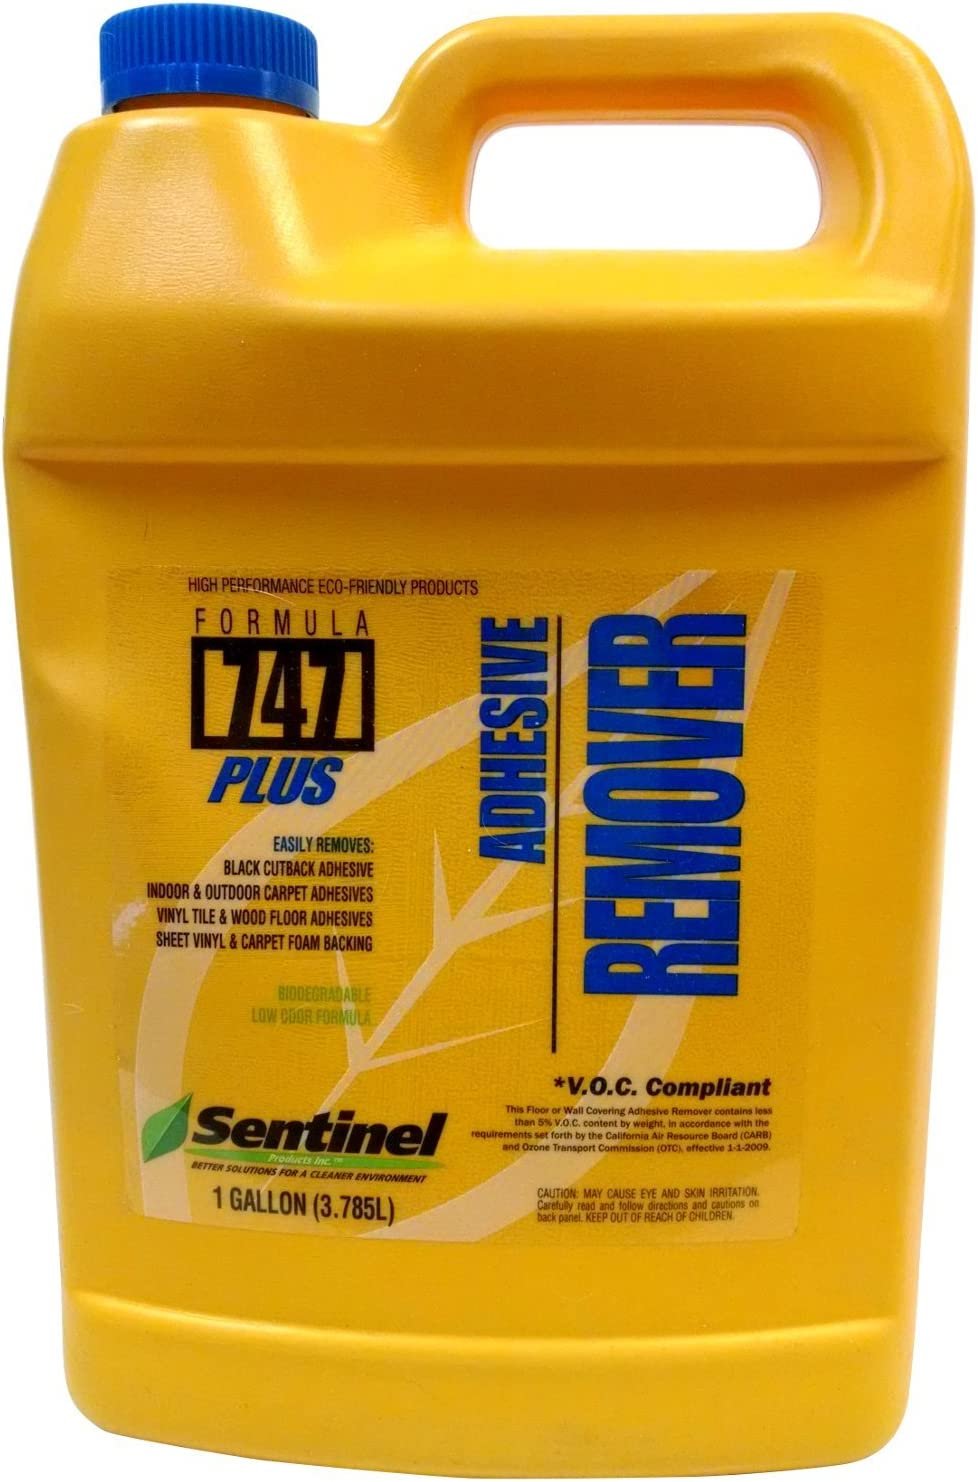
We recommend Sentinel Formula 747 Plus. This powerful glue remover is designed to safely and effectively remove a wide range of adhesives, including carpet glue, vinyl glue, and tile adhesive.
It's also environmentally friendly and safe for use in homes with children and pets. Sentinel Formula 747 Plus can be purchased at most home improvement stores or online retailers such as Amazon or Home Depot.
Prepare the Work Area
Clear the Room of Furniture and Other Obstacles
To prepare the work area for removing floor glue, the first step is to clear the room of all obstacles and furniture. This will make it easier to move around and ensure that the entire floor surface can be accessed.
Cover the Surrounding Areas With Protective Materials
Be sure to cover any surrounding areas with protective materials. This includes furniture (the furniture you can’t move), baseboards, walls, and any other surfaces that could be damaged by the glue remover or other tools used during the process. The best way to protect these surfaces is by using drop cloths or plastic sheeting.
Ensure that the protective materials are taped securely in place to prevent any shifting or movement during the glue removal process.
Ventilate the Area to Reduce Fumes
In order to reduce the fumes and odors that can be harmful to your health, proper ventilation is critical when removing floor glue. Before starting the removal process, open windows and doors to allow fresh air to circulate through the room.
Got a fan? Use it to increase the airflow. It's also recommended to wear a respirator or mask specifically designed for fume protection. Taking these precautions will make the process much safer and more comfortable.
Begin the Glue Removal Process
Applying the Glue Remover to the Floor
After the room is well-ventilated and all safety precautions are taken, apply the glue remover to the floor using a paintbrush, roller, or sprayer, depending on the type and size of the area. Make sure to apply the glue remover evenly and generously, covering the entire surface.
Follow the manufacturer's instructions for the application process, as some removers may require more or less time to penetrate the adhesive, depending on the type of glue used.
Allowing the Glue Remover for Floors to Soak In
Once you’ve applied the glue remover to the floor, it's important to allow it to soak in for a specified period of time. This can vary depending on the type and strength of the remover being used, as well as the type of glue and the amount of residue left on the floor.
It's important to follow the instructions provided by the manufacturer to ensure that the remover is given enough time to work effectively. This step allows the glue remover to break down the adhesive properties of the glue, making it easier to remove from the floor.
Scraping the Glue Off the Floor
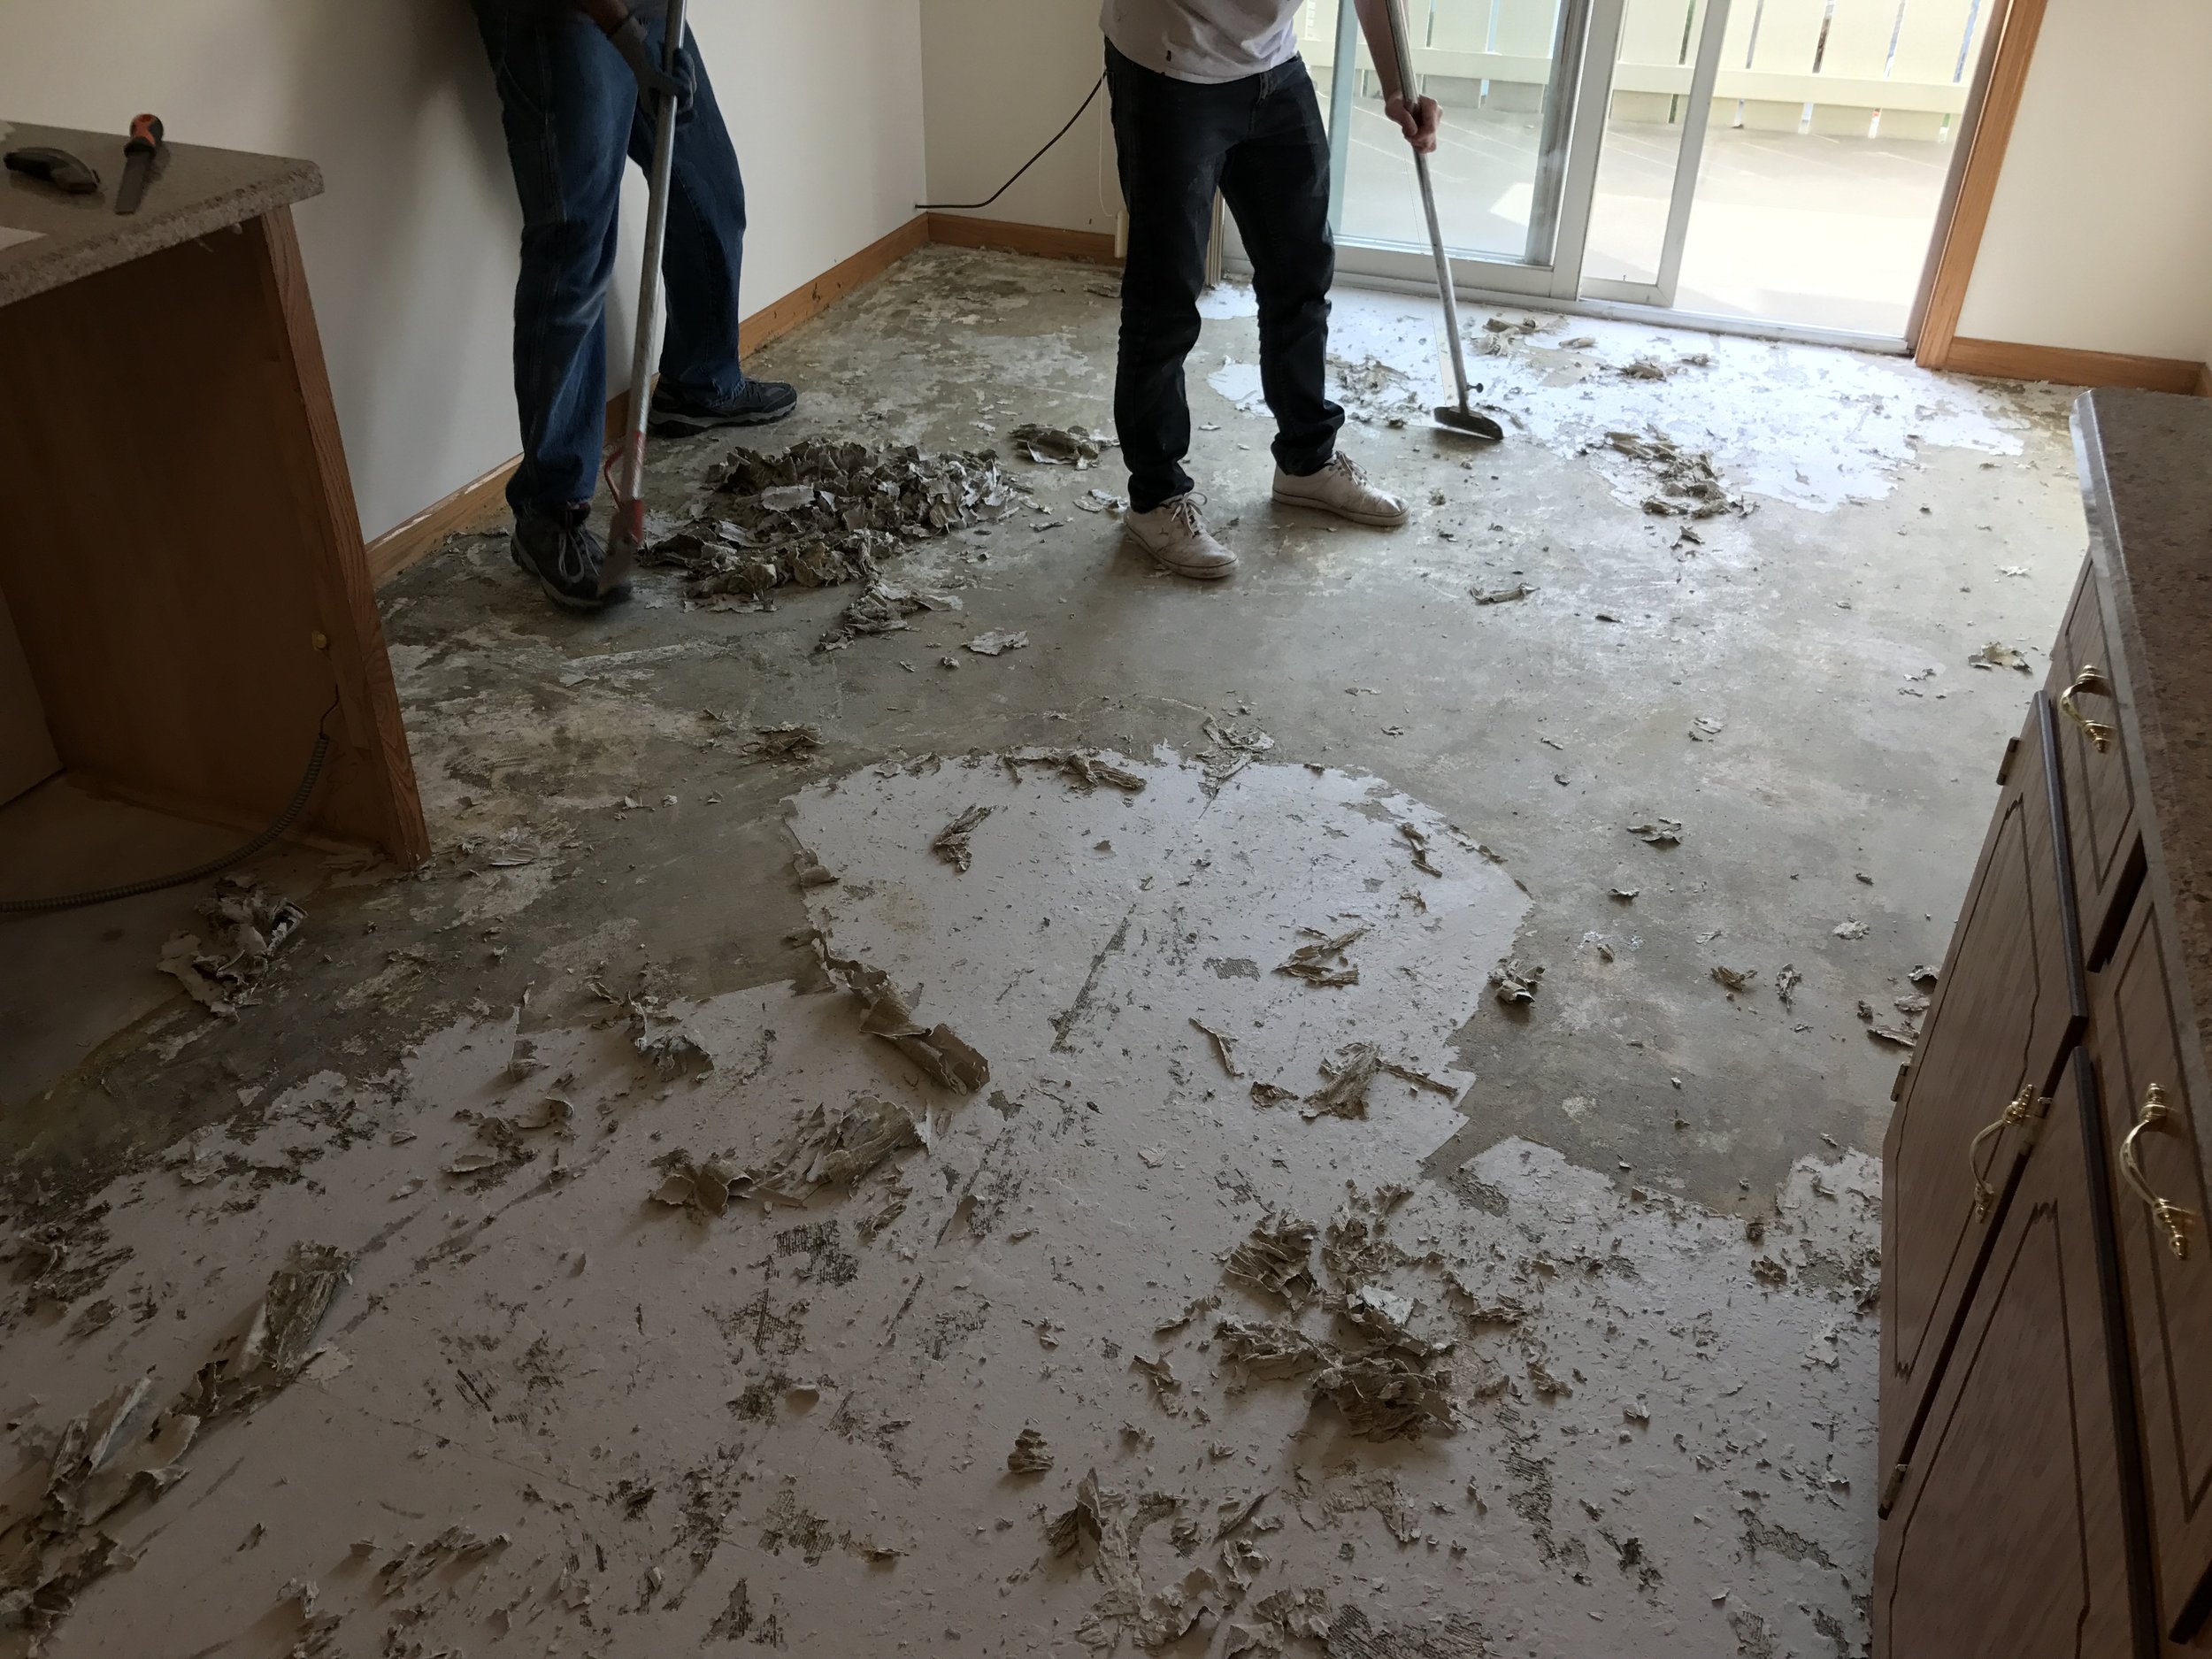
Once the glue remover has soaked into the floor for the recommended time, it's time to start scraping the glue off the surface. Use a scraper tool to gently remove the glue from the floor. Be sure to use a light touch to avoid damaging the floor, especially if using a razor blade scraper.
Work in small sections to ensure that the glue is completely removed before moving on to the next area.
Repeating the Process as Necessary
During the glue removal process, it is important to repeat the application of the remover as necessary. This will ensure that all glue is fully removed from the floor. If the glue is being stubborn or it’s in hard-to-reach areas, the glue remover for flooring should be applied again and left to soak in for a longer period of time.
Additionally, multiple rounds of scraping may be necessary to remove all of the glue. It’s important to be patient during this process and take the time to remove all of the glue thoroughly.
Clean Up and Disposal
Cleaning the Work Area to Remove any Residue
After removing the floor glue, it’s essential to clean the work area thoroughly to get rid of any residual materials. This step will ensure that there is no leftover glue, which can interfere with the installation of new flooring. Begin by sweeping or vacuuming the entire floor to get rid of dust and debris.
Then wipe the surface with a damp cloth to remove any remaining glue residue. Be sure to dispose of the cloth and any other materials used for cleaning properly. Finally, inspect the area carefully to ensure that there is no debris or residue left on the floor, especially if you’ll be installing new flooring on top of it.
Properly Disposing of the Glue and Other Materials
Once you’ve removed all of the floor glue, residue, dust, and debris, it’s important to dispose of the glue and other materials properly. This helps to avoid any damage to the environment and ensures safety in the work area. The glue and other materials should be placed in a sealable bag or container and labeled as hazardous waste.
Depending on the amount and type of glue, it may be necessary to dispose of it at a hazardous waste facility. It’s important to research the local regulations and guidelines for the proper disposal of hazardous waste to avoid any penalties or fines. By disposing of the glue and materials properly, you can complete the job safely and responsibly.
Tips for Maintaining the Newly Cleaned Floor
After removing the floor glue, it's important to properly maintain the newly cleaned floor. Here are some tips to keep your floors looking great:
Regular cleaning: Vacuum or sweep regularly to keep dust and dirt from accumulating on the floor. Use a damp mop with mild soap and water to remove any stains or spills.
Avoid harsh chemicals: Avoid using harsh chemicals or abrasive cleaners on your newly cleaned floors. They can damage the finish and cause discoloration.
Use rugs and mats: Place rugs and mats in high-traffic areas to prevent wear and tear on the floor. Be sure to use rugs with non-slip backing to prevent slips and falls.
By following these tips, you can help maintain the cleanliness and appearance of your newly cleaned floors.
Conclusion: Recapping the Steps Involved in Safely and Effectively Removing Floor Glue
In summary, to safely and effectively remove floor glue, the following steps should be followed:
Gather the necessary tools, including a floor scraper, heat gun, gloves, safety goggles, applicator, and a respirator mask.
Select a recommended glue remover for floors and purchase it from a hardware store or online.
Prepare the work area by clearing the room of furniture and other obstacles, covering surrounding areas with protective materials, and ventilating the area to reduce fumes.
Apply the glue remover to the floor, allowing it to soak in for the recommended amount of time.
Scrape the glue off the floor using a floor scraper, repeating the process as necessary until all glue has been removed.
Properly dispose of the glue and other materials, and clean the work area to remove any residue.
After the glue has been removed, take steps to maintain the newly cleaned floor, such as regular cleaning and avoiding exposure to moisture.
Final Thoughts on Proper Floor Glue Removal
Proper floor glue removal is a crucial part of any flooring project. Failing to remove old adhesives can lead to a range of issues, including uneven flooring, poor adhesion of new materials, and unsightly residues that can detract from the overall look of the space.
By following the steps outlined in this guide, you can safely and effectively remove old floor glue, ensuring that your new flooring materials adhere properly and look their best. Remember to take your time, work carefully, and use the right tools and materials for the job to achieve the best possible results.
Need help with your next flooring project? Contact Plus Hardwood Flooring today for a free estimate!